How to: Make Pesto
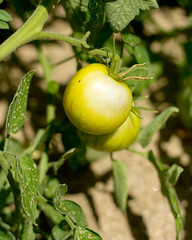
Summer is a wonderful time being that it provides the opportunity to partake in many activities not available during other parts of the year. One of the things that happens in summer is that basil grows very rapidly. I awoke this morning to find this picture from Hypnotic Aubergine.
Upon seeing that image I calculated that the best use of my late morning would be in the creation of some pesto. At the same time, I thought, "I should document the creation of the pesto and share it." I have done just that... and I discovered that making pesto, from picking the basil to putting the food processor in the dish washer, takes under 20 minutes. What a treat!
Pesto
The first step in making pesto is getting yourself some basil. For me this is quite easy; all I have to do is go outside and pick it (Steps 1a, 1b, and 2).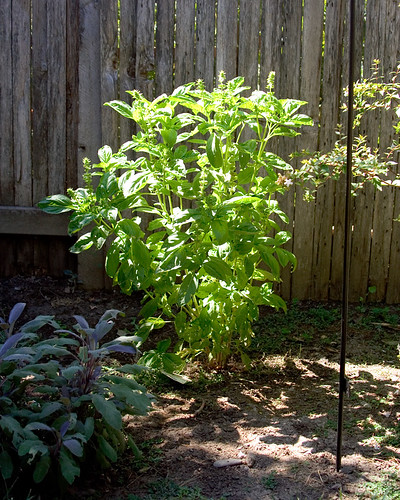
Step 1a: Find the Basil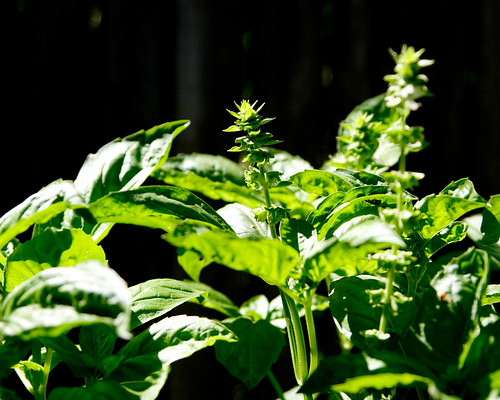
Step 1b: Appreciate the beauty of basil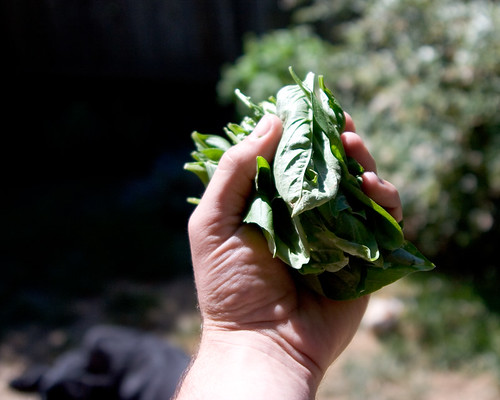
Step 2: Pick the basil
After acquiring some basil, I suggest that you give it a little rinse. Here in Davis, we recently had arial spraying of pesticides to try to wipe out mosquitos carrying West Nile Virus.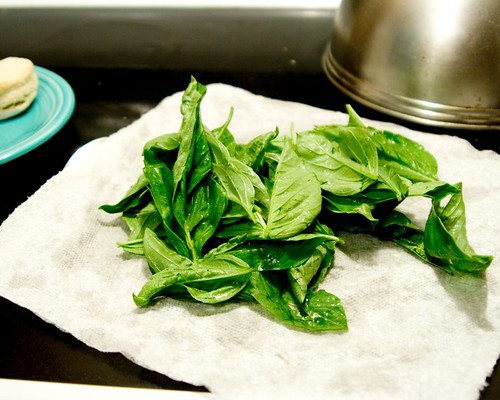
Step 3: Wash the basil
Another important ingredient in my version of pesto is garlic. I like using 2 cloves of garlic in my pesto, regardless of how much I make. I'm a sucker for garlic.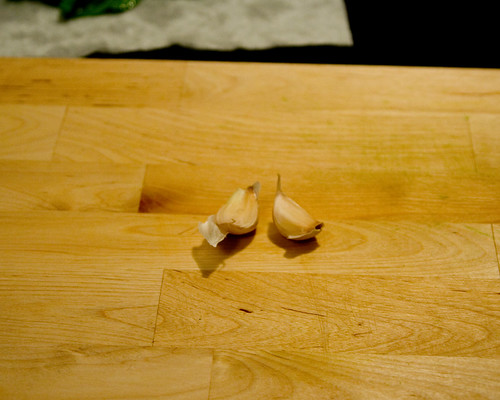
Step 4: Find the garlic cloves
The garlic does not have to be chopped too finely; it is going to go for a spin the food processor in a second.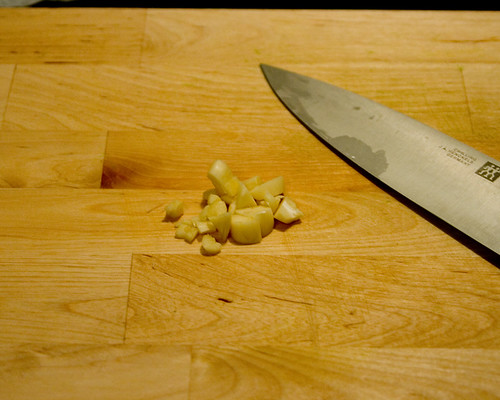
Step 5: Roughly chop the garlic
Next, I gave the garlic a few pulses in the food processor to finely chop it. After it was minced up, the basil went in and it too was finely chopped up with the pulse button.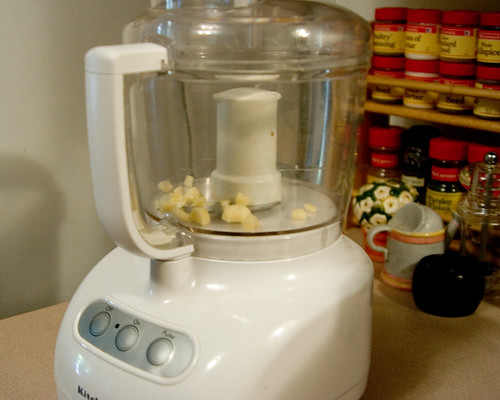
Step 6a: Put garlic in food processor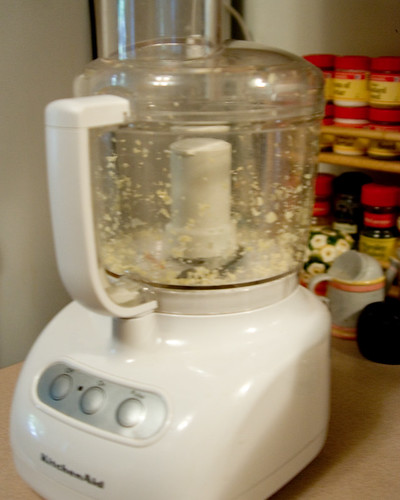
Step 6b: Pulse garlic until it is finely minced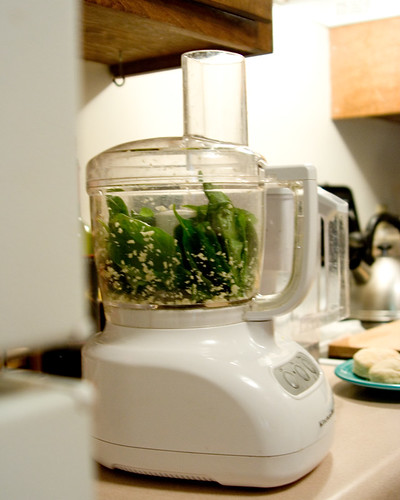
Step 7a: Put basil in food processor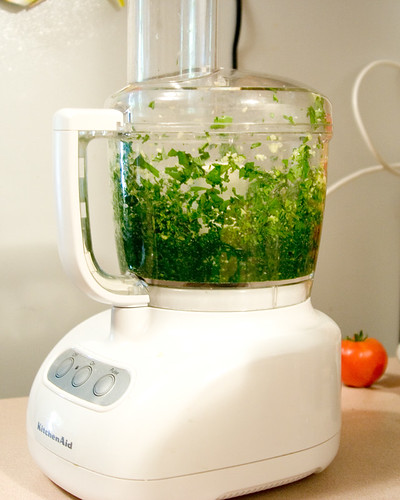
Step 7b: Pulse basil until it is finely chopped
Pesto is held together by olive oil. In order to keep the pesto tasting alive and fruity, use good extra virgin olive oil. I chose Yolo Vineyards Olive Oil Company Extra Virgin Olive Oil because it is both good and local.
Step 8: Find some good extra virgin olive oil
The next part is the trickiest part for me. This is where the consistency of the pesto is decided. Some people like it thicker, some thinner. To get consistent results, I drizzle in the olive oil until the pesto starts moving around in a clump. At the beggining of the drizzle, nothing will really happen. Eventually, when the level of the olive oil gets up to the blade, it will start sloshing around and the pesto will incorporate.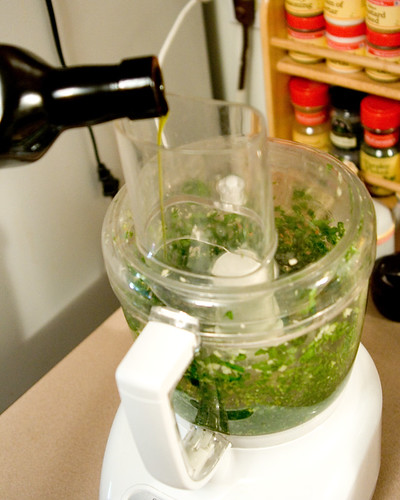
Step 9: Add olive oil
The rest of the pesto making is adding in the Parmigiano-Reggiano cheese and the pine nuts. I prefer raw pine nuts in my pesto, while some use toasted pine nuts.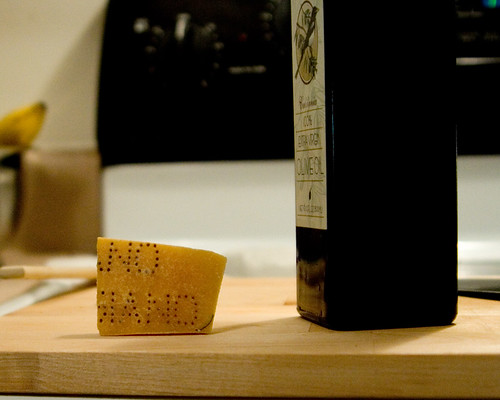
Step 10: Acquire some Parmigiano Reggiano
Into the food processor now went some grated P-R cheese, a handful of pine nuts, salt and pepper.
Step 11: Add the rest of the stuff
Incorporate the new additions, and you are done!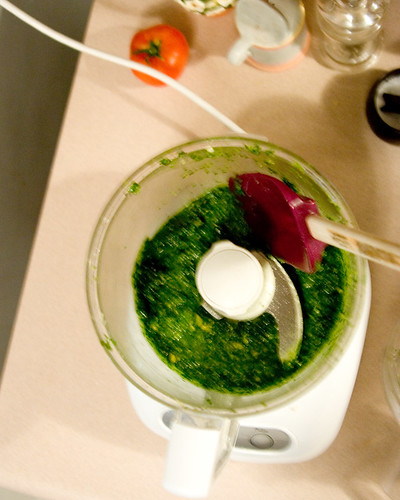
Step 12: Pulse until the pine nuts are well incorporated
All done!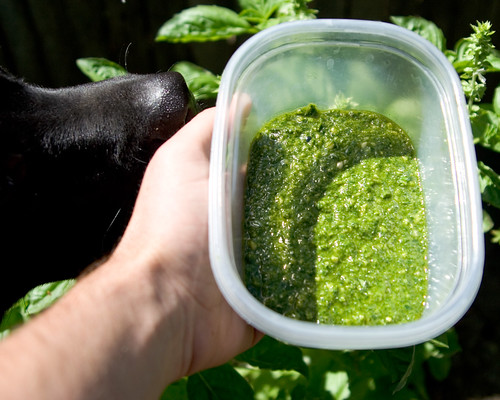
Step Done!: Don't let your dog eat your pesto
Tilden was more than interested in what I had been doing. It seemed like making pesto was really fast, and after looking at the EXIF data on the photos, I confirmed that hunch: It took 19 minutes start to finish to make the pesto.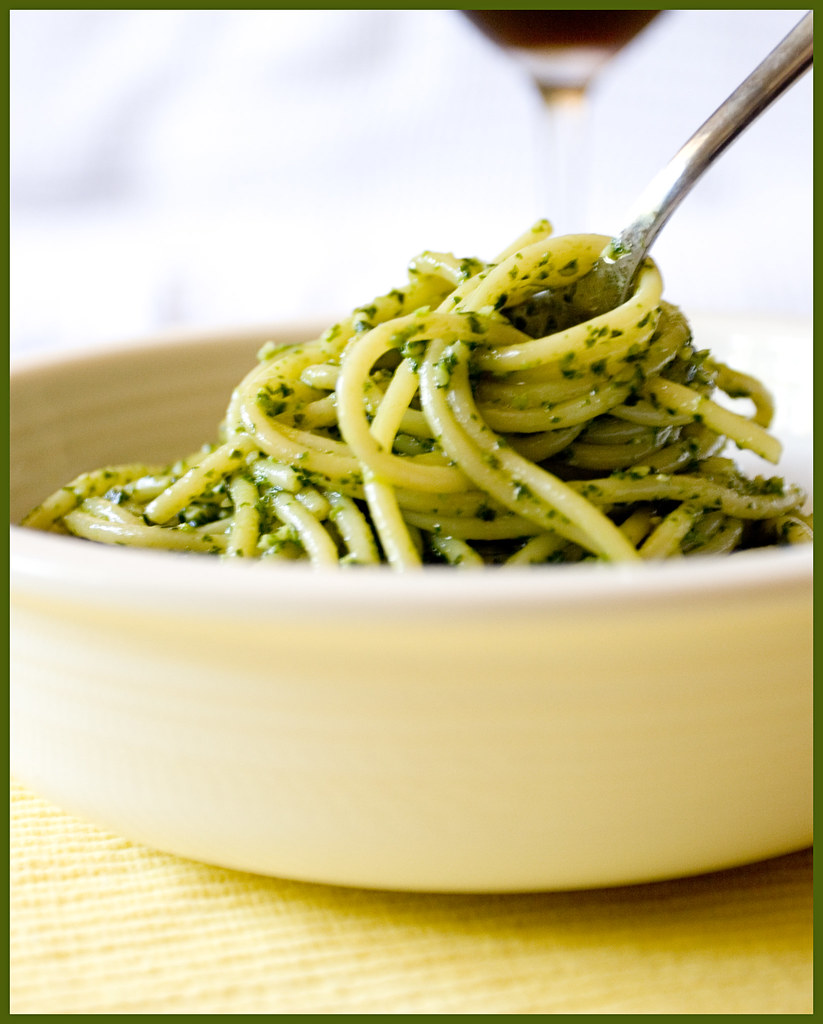
Bon Apetit!
Slideshow of pesto making